How To Make - Clydesdale Military Transport
General
Tips, Material and Tools |
|
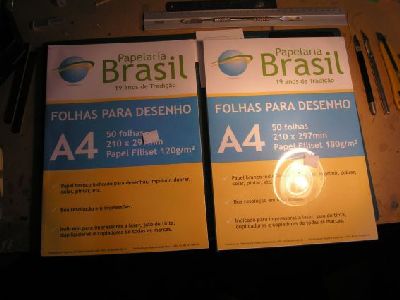
Impression Tips: For better results to print in a printer paint jet or laser in the largest possible resolution. The model in the scale 1/200 is configured to be printed in A4. Paper: The best paper is Opaline or Filecoat whith thickness 160 g/m2 or 180g/m2 for 1/200 scale and 120g/m2 for 1/1000 scale. You eat photographic they can also be used, but reminding that should be gluing with CA glue. |
 |
Necessary tools Cutting matt (optional), normal cutter, cutter Xacto type, tip scissors and seam scissors, metal ruler, CA glue (optional), white PVC glue, spatula for demarcation (to do fold lines), tweezers, pens and pencil to color corners or white lines.
|
 |
Assembly
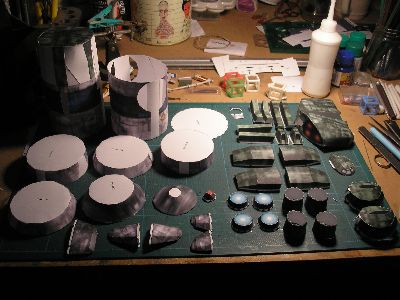
Pieces |
|
All
pieces building. |
 |
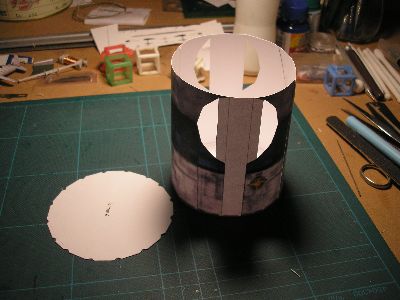
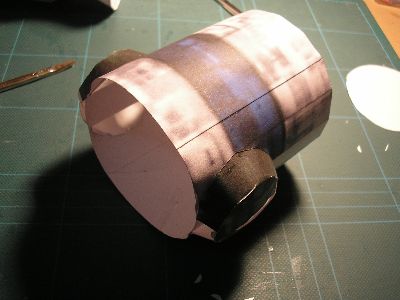
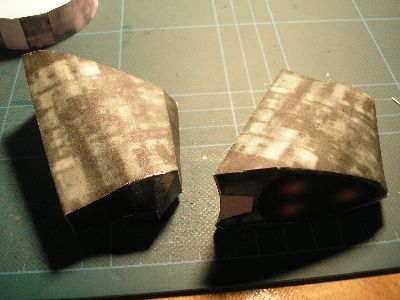
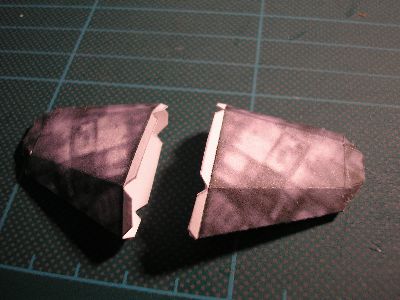
Step 1: Make the nose. He is composed of three sections, care with the alignment of the textures, use the formers 1 for the extremity of the nose, the former 3 for the piece of the middle in his base and the formers 4 and 5 for I finish it ring.
|
 |
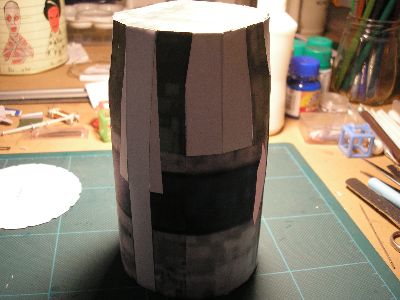
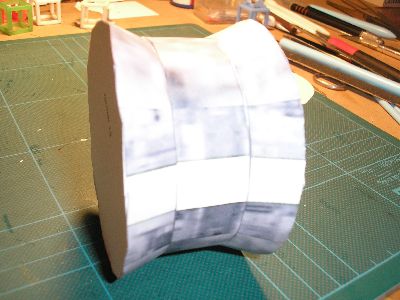
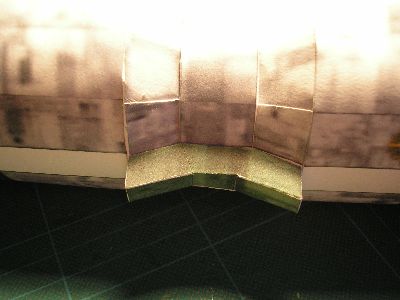
Step 2: Make the rear section fuselage, careful with the back forms that are straight in the white areas, in some cases it can be interesting to glue tabs inside to reinforce the unions of those right angles. Leave to glue in the END of the process the former 14.
|
 |
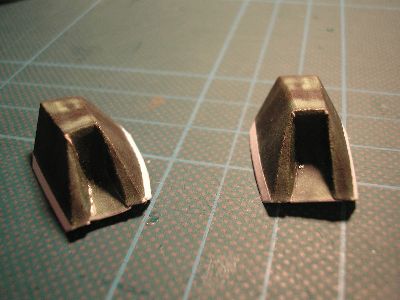
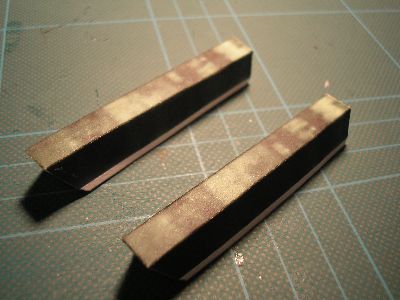
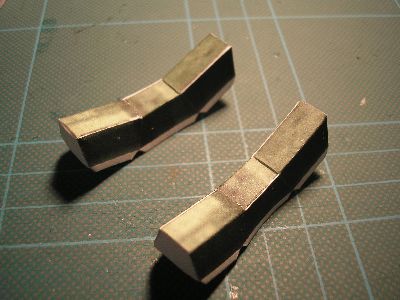
Step 3: Make the canard's carenage.
|
 |
Step 4: Make the frontal fuse, glue the rear frame (frame 7) BUT DO NOT GLUE FRAME 6 before gluing canard's carenage. Make the holes for fit carenage according to the pic.
|
 |
Step 5: Glue the carenages in front fuse and after dry it glues the front former.
|
 |
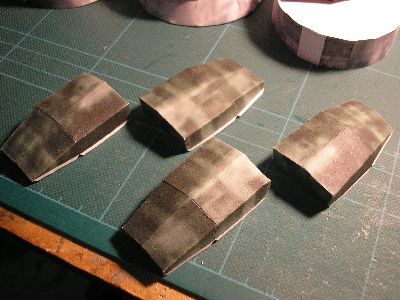
Step 6: Make the central fuselage ring, careful with textures alignament, for the center ring use formers 10 and 11, for the front junction ring use former 8 in rear, for the rear junction ring use former 13 in rear. After gluing the rings according to the pic.
|
 |
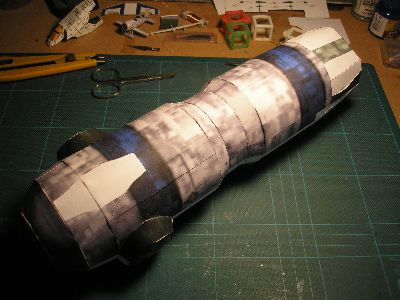
Step 7: Glue all fuselage sets. Tips: In case they be openings or no alignment for badly glues, it can be necessary to do mendings or amendments, these can be made printing a second set of the model in thickness among 75 to 90 g/m2.
|
 |
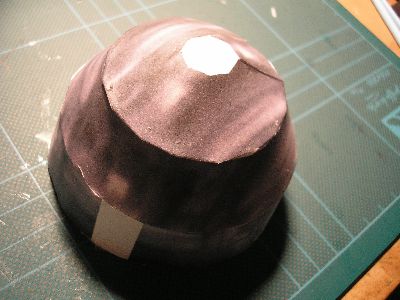
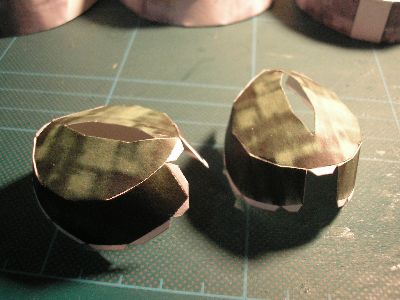
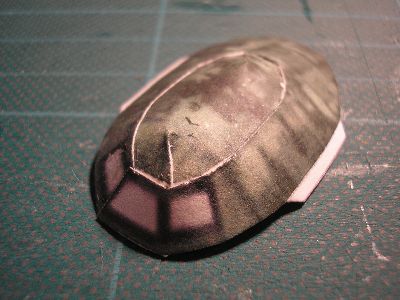
Step 8: Make the radar dome and glue in the nose.
|
.jpg) |
Step 9: Make the front air intakes.
|
 |
Step 10: Make the front fuselage lateral ductos.
|
 |
Step 11: Make the lateral ductos of the ring central care with the forms.
|
 |
Step 12: Make the rear fuselage lateral ductos.
|
|
Step 13: Glue the intakes, and front ductos...
|
.jpg) |
Step 14: Glue the center ducto...
|
 |
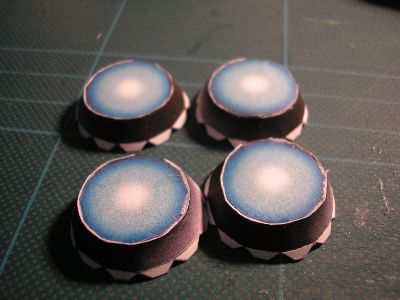
Step 15: Make the jump engine, careful with roundel shape and rear section form.
|
 |
Step 16: Glue the rear ducto and jump engines...
|
.jpg) |
Step 17: Make the canards...
|
 |
Step 18: Make the wings...
|
 |
Step 19: Glue the canards in fuselage carenage. Care with the diedro that is negative.
|
.jpg) |
Step 20: Glue the wings in jump engines. Care with the diedro that is negative.
|
.jpg) |
Step 21: Make the fuel cells.
|
 |
Step 22: Glue the fuel cells on the top fuselage.
|
.jpg) |
Step 23: Glue the fuel cells on the low fuselage.
|
.jpg) |
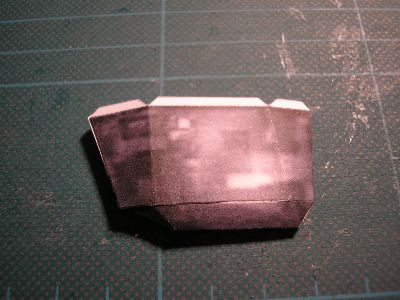
Step 24: Make the cockpit carenages...
|
 |
Step 25: Glue the carenages in the suitable area in the top of the fuselage. |
.jpg) |
Step 26: Make the cockpit piece careful with round shape...
|
 |
Step 27: Glue the cockpit.
|
.jpg) |
Step 28: Make the rear rings of exaust engines.
|
 |
Step 29: Make the front rings and plates of exaust engines. |
 |
Step 30: Glue the rings of engines exausts.
|
.jpg) |
Step 31: Glue the exaust engine pieces. Careful with alignment.
|
.jpg) |
Step 32: Make the inferior tail.
|
 |
Step 33: Glue the inferior tail in the rear fuselage, make a hole in white area for fitting or glue.
|
.jpg) |
Step 34: Making the display according to the choice of the scale of his model of Clydesdale.
|
.jpg) |
Model
Completed |
.jpg) |
Another Tips:
|
|